I have a couple of cheap Chinese IP cam as kitty cams. As with anything cheap, support is not existent; and what’s worse is, the company decided to shut down. The company never issued any firmware updates and those 2 cameras have a CVE on ONVIF, I decided it’s time to remove them from the internet and keep it on a private VLAN and accessible through a NVR server.
I want to build my own NVR because I want to re-use my hardware, and my primary need is just monitoring remotely. For recording, they have micro SD card slots that can be used as needed. I looked at a few options, including ZoneMinder and MotionEye. I started of testing them on a VM and found that two software require a lot of manual work. Especially with unknown Chinese vendor, getting PTZ is nearly impossible without a lot of trial and error.
Since I bought TinyCam Monitor Pro, and it has a built-in web server. The app can auto detect the cameras and after some testing, the web server works extremely well, even with RTSP cameras. The next part, where the meat of this blog is.. how should I go about running an Android server.

Getting a Raspberry Pi is extremely difficult, on the other hand, Android TV boxes are plenty. For this article, I am focusing on TV boxes that use AMLogic S905X3 SoC with a custom ROM. There are currently two active projects: SlimBox and Aiden’s ROM for AMLogic SoCs. The reason of replacing the stock operating system is for security and stability. Security means no unknown software and stability means the ROM is stable and well tested by the community.
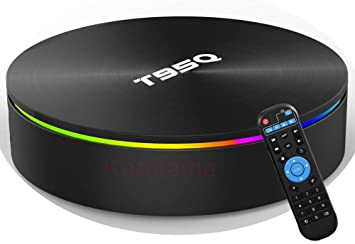
For this project, I picked up a T95Q Max TVBox from Amazon for $60, that has 64GB of storage and 4GB of RAM, which is plenty to run TinyCam server and remote control software like AnyDesk in the background. For the ROM, I choose Slimbox because the original IR remote works with this and I use the Android Pie layout due to having full access to the play store. Android TV layout is better for TV but the Play Store options are much fewer.
To install the Slimbox ROM, I prepared:
ROM – https://slimboxtv.ru/t95q-max-x3/
Burn Card Maker – https://slimboxtv.ru/instrukciya-po-proshivke-img-cherez-zagruzochnuyu-micro-sd-kartochku/
8GB micro-SD card – preferably anything that can do FAT32
Toothpick, end of Q-tip – anything non-conductive that can poke the reset button in the AV hole
There is a USB Burning Tool v2.24 for direct USB connection from the PC to the box. Since my cable doesn’t work. I used the SD card method which is an alternate method.
I created the SD card with the instruction, check all 4 boxes with “erase in normal”. Inserted the SD card into the TV box, and plugging the power in while holding the reset button. It took about 10 min for the upgrade process and the box booted to the home screen, similar to a tablet form.
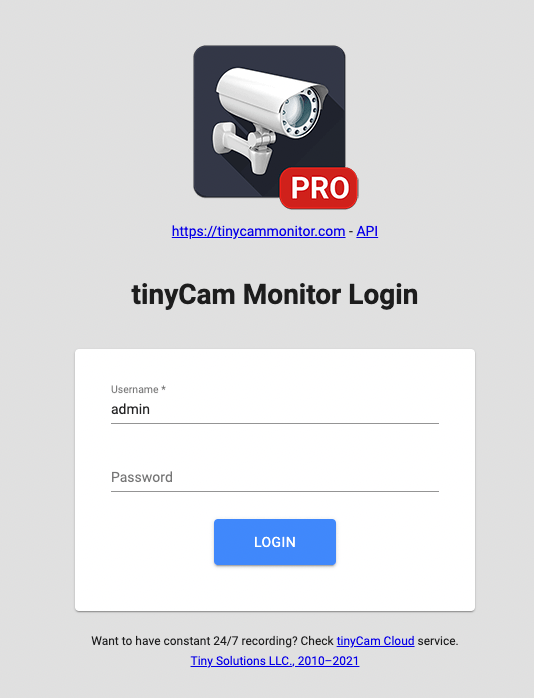
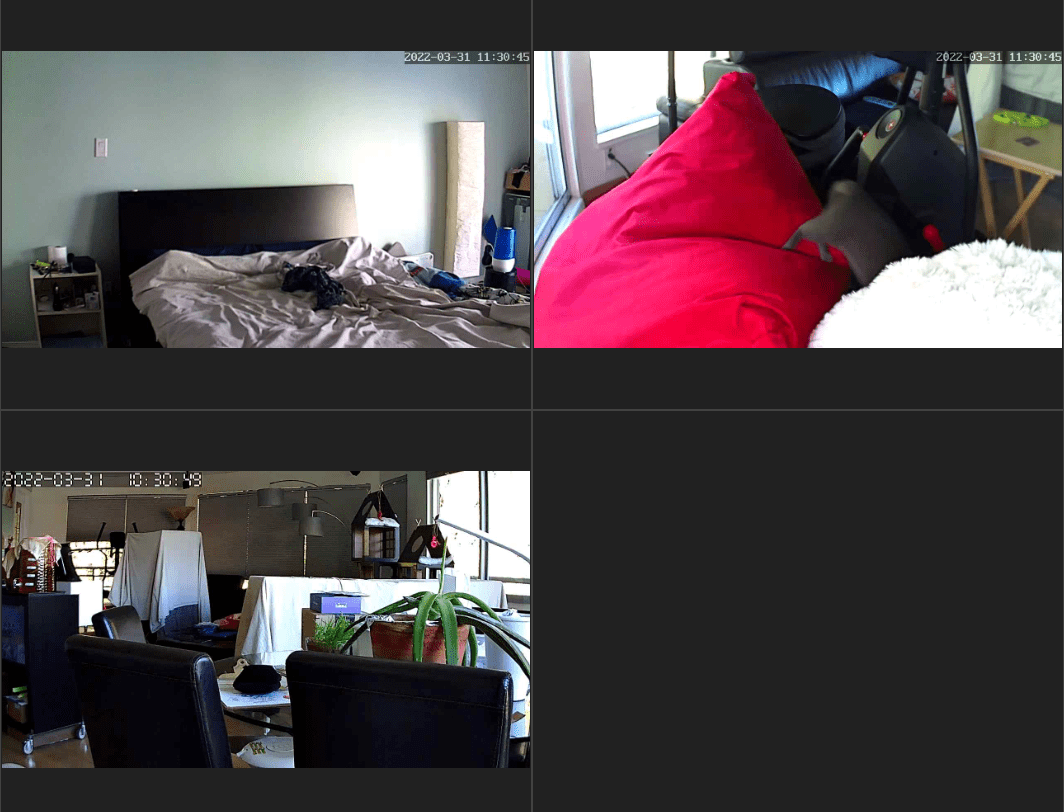
I signed into my Google account, installed AnyDesk, TinyCam Monitor Pro. Setup AnyDesk to allow unattended access (for remote access), and in TinyCam, setup my cameras, enable it to run the server and in background mode. This is relatively easy since I longer need to set these up via scripts or terminal commands, everything is in the UI. I got a login window and I saw my camera!
Finally, I gave the box a static IP, and setup port forwarding. I have access to TinyCam server outside! The TinyCam web server is running a copy of NGINX.
On my router, I setup a Dynamic DNS (like No-ip.com) and port forward the Android TV box. I can access my box externally. I can add storage to record with micro SD cards as well if needed. This is an easy project.