Technology has gone so fast these days that trying to find old stuff is getting difficult. For example, the majority of light bulbs that I can find is LED, very rarely I can find any CCFL or incandescent bulbs at hardware store. In my kitchen, 2 of the 4 florescent tubes is getting dim and I thought it would be easy to replace them, and this is where it gets interesting….
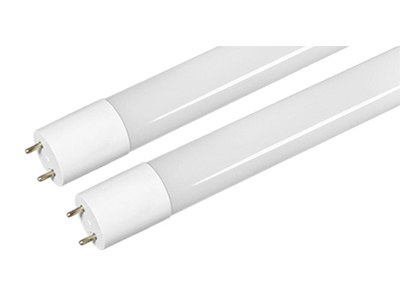
Similar to light bulbs, florescent light tubes are evolving to LEDs. For what many does not know, LED tubes (T8 Tubes) comes in 3 different types and some might need modification to the ballast. To sum it up, these are the 3 types (more about them)
- Type A – Plug and Play, tube runs off existing ballast
- Type B – Runs off direct AC, existing ballast will have to be removed and rewired
- Type C – Works with or without ballast
Type A is the most common tubes available as it is direct replacement, but the efficiency would be lowered depending on the ballast and ballast compatibility. Type B requires some minor electrical wiring but it is a lot of efficient. Type C would cost the most as it works with or without ballast.
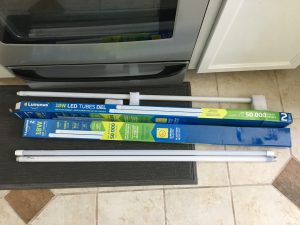
From my initial research, many people complained about ballast compatibility on Type A. That makes me want to go to Type B because it is fairly straight forward in my case. However, Type B is not widely available in my area. Costco sells the Luminous T8 LED tubes for $19 for a 2-pack, I pick a couple up knowing I can return them should they don’t work.
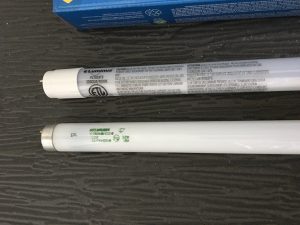
These are Luminus PLT024T2, they are 18W,2200 lumens, 4000K, frosted Type A T8 LED Tube
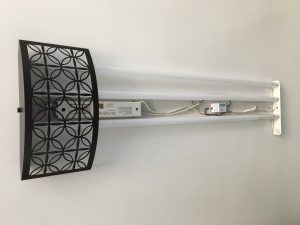
I took the light fixture cover down, and replaced all 4 of the tubes with the LED ones. I was nearby an accident where someone dropped a tube and it exploded, the glass shards almost hit my eye. I was very glad these LED tubes are made out of plastics.
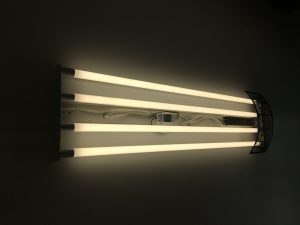
Since LEDs are single sided, part of the installation was to ensure the light strip is facing down so the light is emitted downwards (not to the ceiling). Once they were on, they were significantly brighter than the florescent tubes even I put the cover back on. To reduce the amount of light coming down, I turned 2 of the tubes upwards. These tubes worked nicely with my ballasts and they came on instantaneously and gave an even light output.
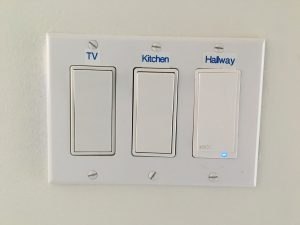
Due to the limited space I have in the electrical box behind the kitchen light switch, I can only install one smart switch. If I want to add the kitchen light to SmartThings, I can add a Sonoff switch while I have the fixture opened!! ????
The Sonoff Basic switch has been flashed with a custom firmware and I programmed it to “toggle on” when boot, this mean I can use the normal wall switch to control on/off (if I press wall switch off, it cuts the power to the Sonoff; if I press wall switch on, it sends power to Sonoff, booting it to ON state). This is not the most elegant way of installing a “Smart Switch”, but it’s straight forward enough without dealing with the wiring inside the electrical box.
So far, I am happy with the light output with the LEDs and I hope they will last.
